
How to Clear Out an Estate - A Step-by-Step Guide for the Okanagan
Clearing an estate involves more than removing items. It requires clear decisions, the right order of steps, and a structured approach to what’s inside the home

Before anything is moved or sorted, secure the home and gather key documents—this protects the property and sets a clear foundation for everything that follows.
Step 1 — Secure the Property and Important Documents
What to do:
Confirm or change locks on the home
Forward mail to the appropriate person
Locate key documents:
will
insurance
ID
financial records
Confirm insurance coverage for a vacant property
Keep essential utilities on:
heat
power
water (as needed)
What NOT to do:
Assume insurance automatically covers vacancy
Shut off all utilities immediately
Delay gathering critical documents
Why this matters:
This step protects the property from risk. Insurance gaps, missed mail, or unsecured access can quickly lead to financial loss or legal complications.
Example:
A family left a home unattended for several months, assuming coverage was unchanged. A minor water issue escalated, and the claim was denied due to vacancy conditions—resulting in significant out-of-pocket repairs.
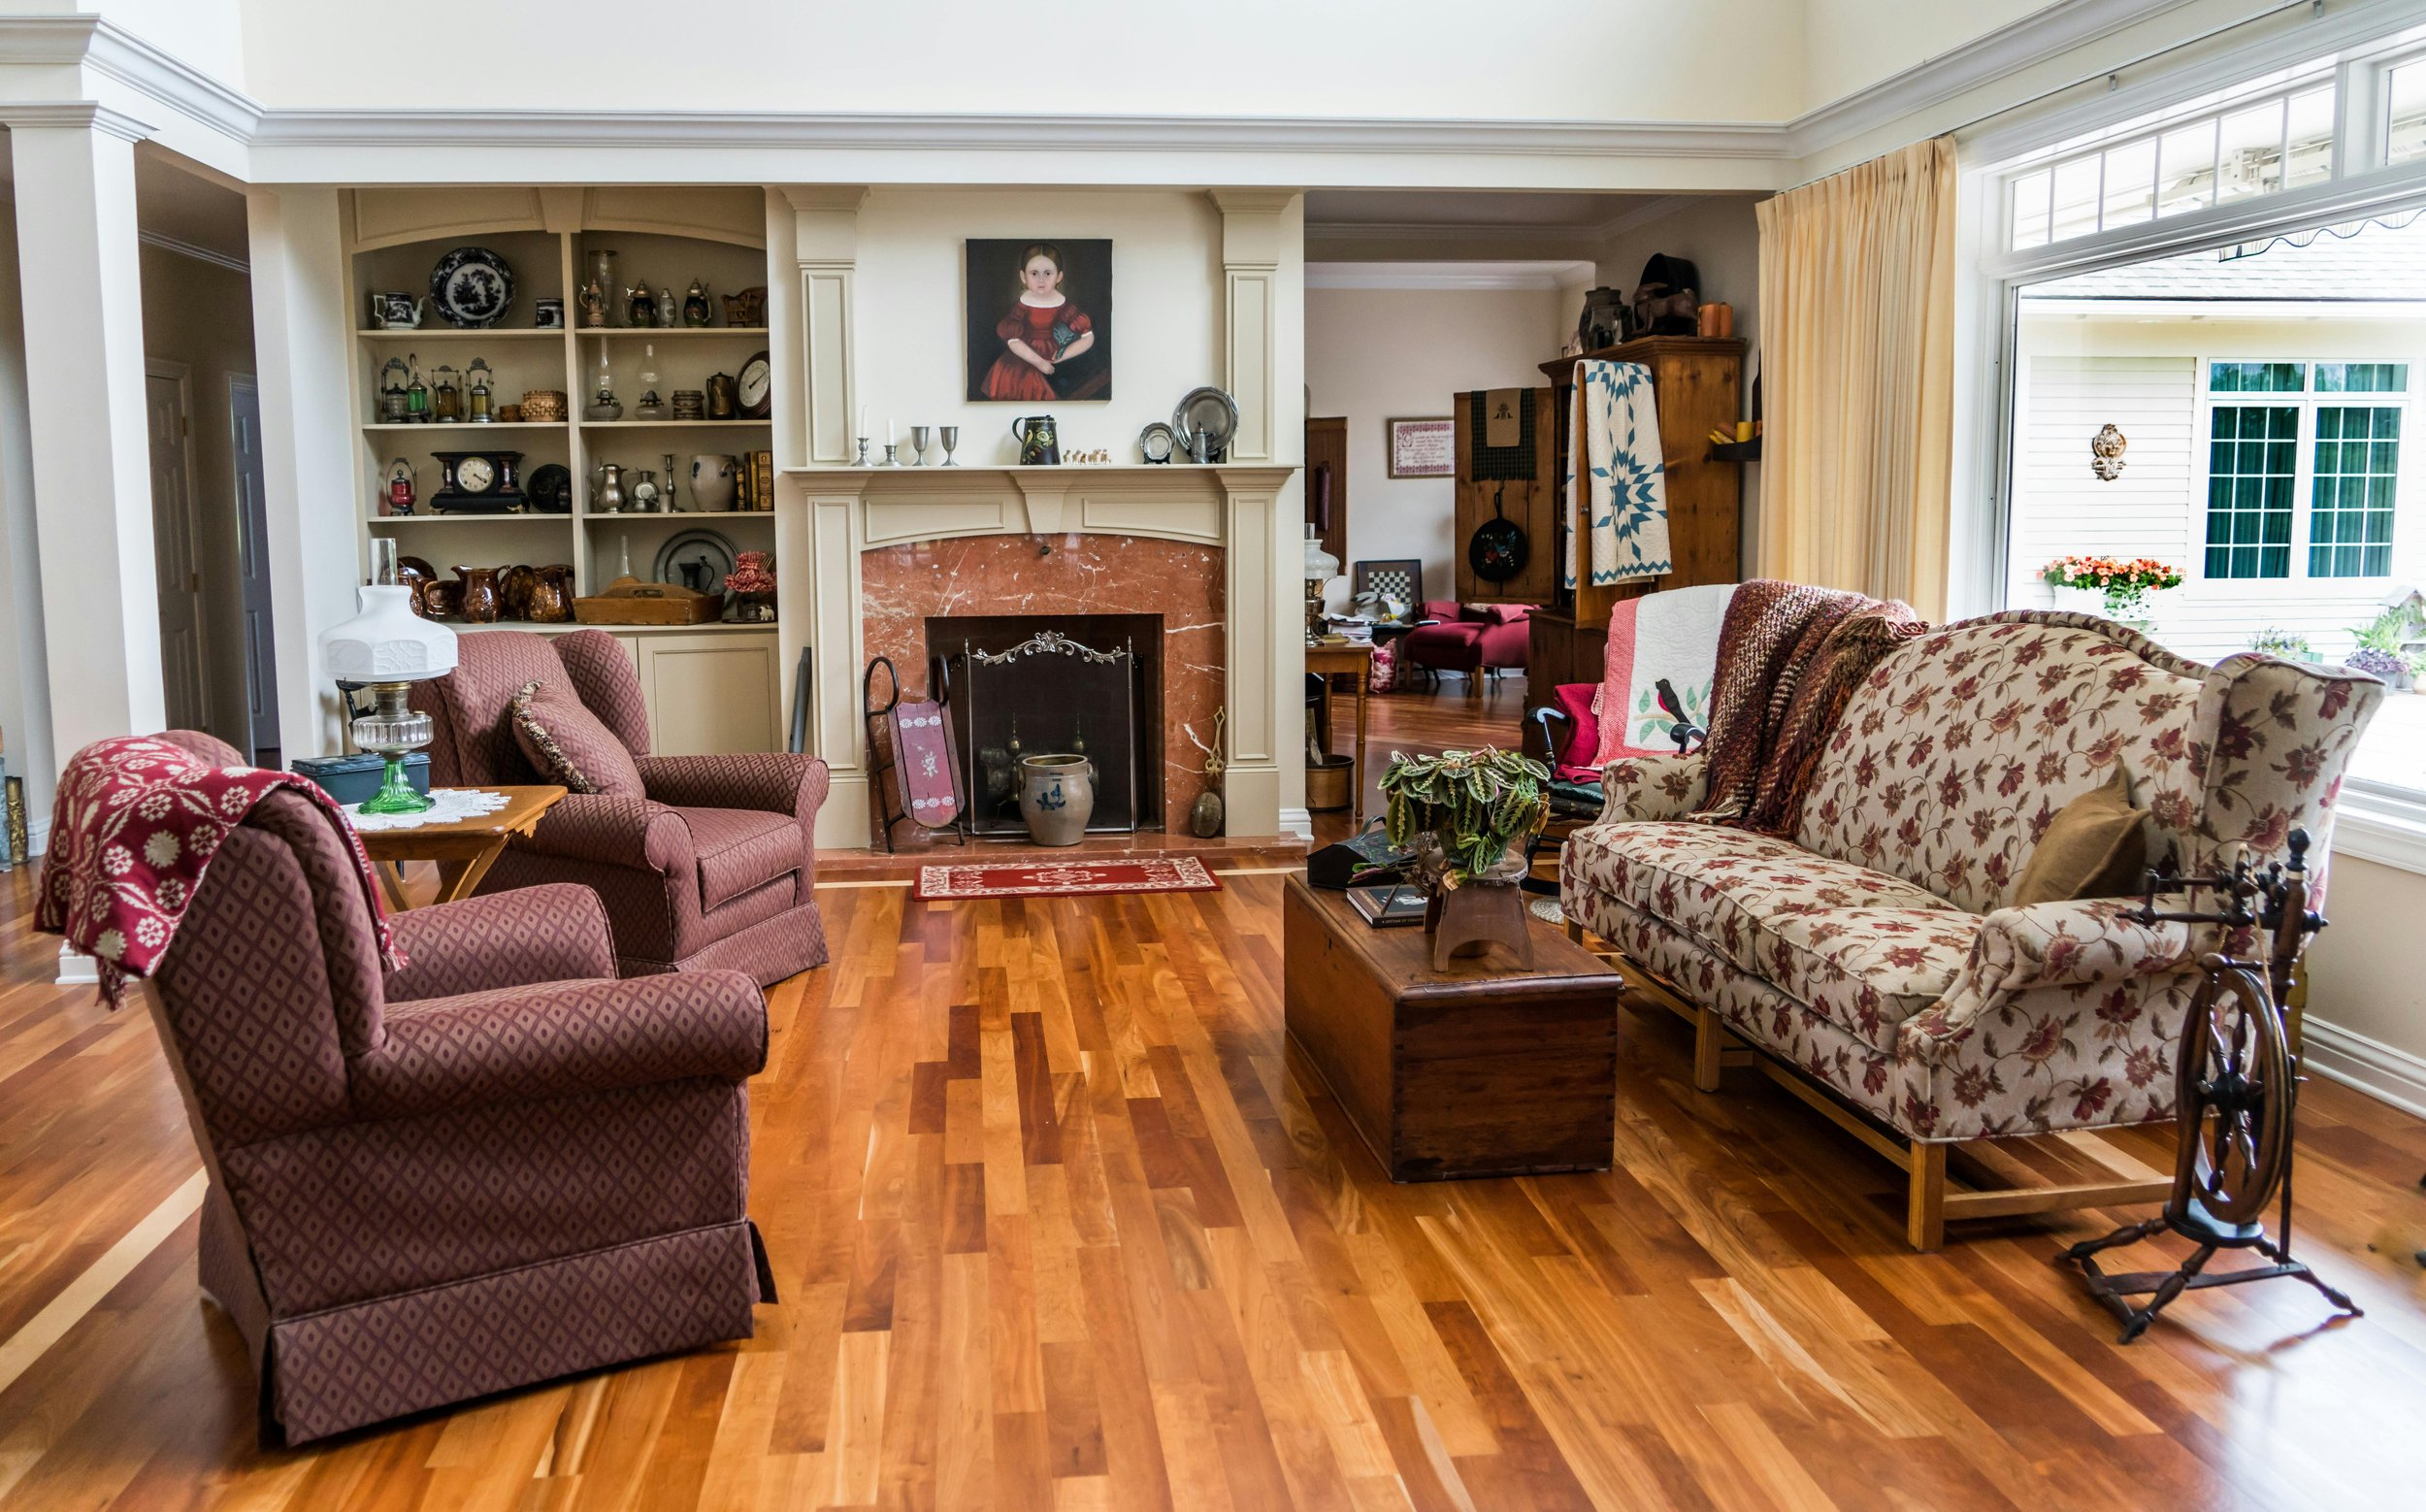
Walk through the entire home before making any decisions—this is where you begin to understand what’s actually there and avoid early mistakes.
Step 2 — Complete a Full Walkthrough Before Making Decisions
What to do:
Walk through the entire property:
room by room
Include overlooked areas:
garage
storage rooms
closets
crawl spaces
attics
yard and outbuildings
Take photos of contents
Create a general inventory:
furniture
tools
personal items
household contents
What NOT to do:
Start distributing items immediately
Throw away anything “obvious”
Allow family members to remove items early
Why this matters:
You need a complete picture before making decisions. Once items are removed, you lose both visibility and control over what was there.
Example:
An executor allowed family members to take items during the first visit. Later, they realized valuable items were gone with no record—creating confusion and tension among siblings.
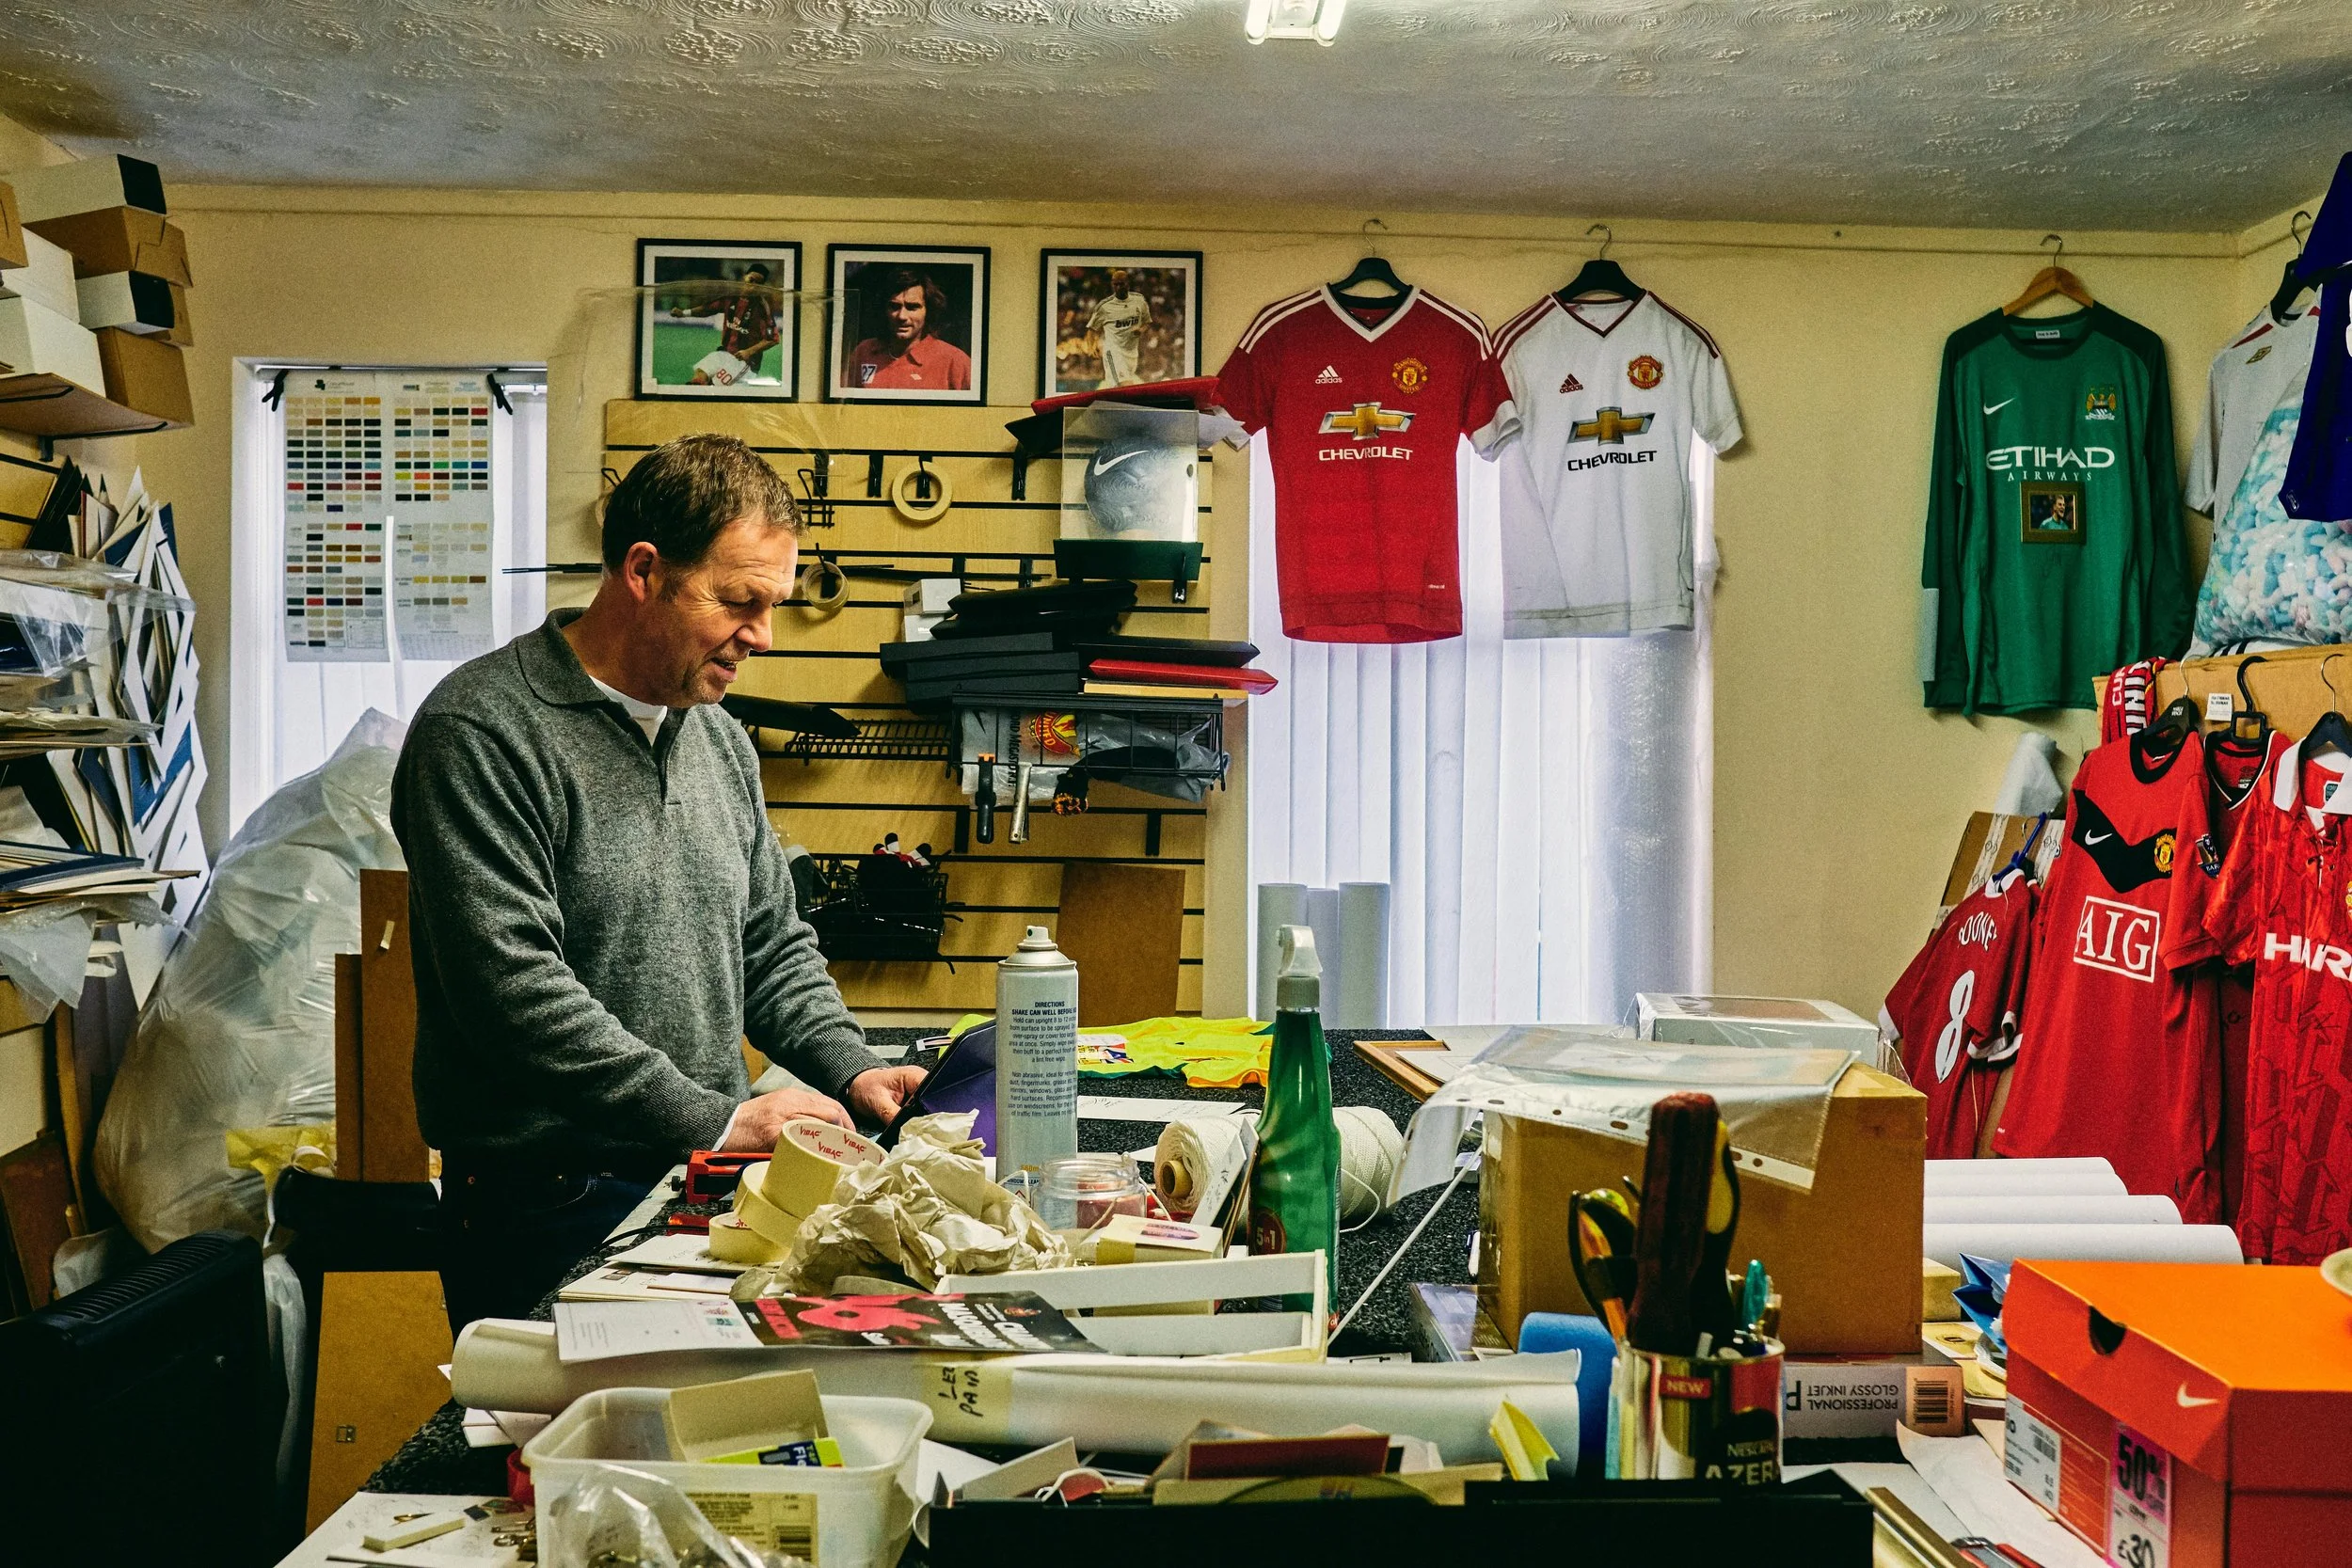
Before moving forward, define your timeline and end goal—this decision shapes whether you prioritize speed, value recovery, or a structured approach.
Step 3 — Define Your Timeline and End Goal
What to do:
Determine how quickly the home needs to be cleared:
immediate (days to 1–2 weeks)
short-term (30–60 days)
flexible (several months)
Decide what will happen to the property:
sale
rental
family occupancy
Confirm any external deadlines:
realtor timelines
legal requirements
insurance conditions
What NOT to do:
Assume you “have time” without confirming
Start clearing or selling without a defined timeline
Plan for maximum value if your timeline doesn’t allow it
Why this matters:
Your timeline determines what is realistic. It directly shapes how the estate should be cleared and how decisions need to be made.
Example:
A family assumed they had time and began slowly sorting and selling items. When the property needed to be listed sooner than expected, they had to shift to rapid clearing—resulting in rushed decisions and reduced returns.
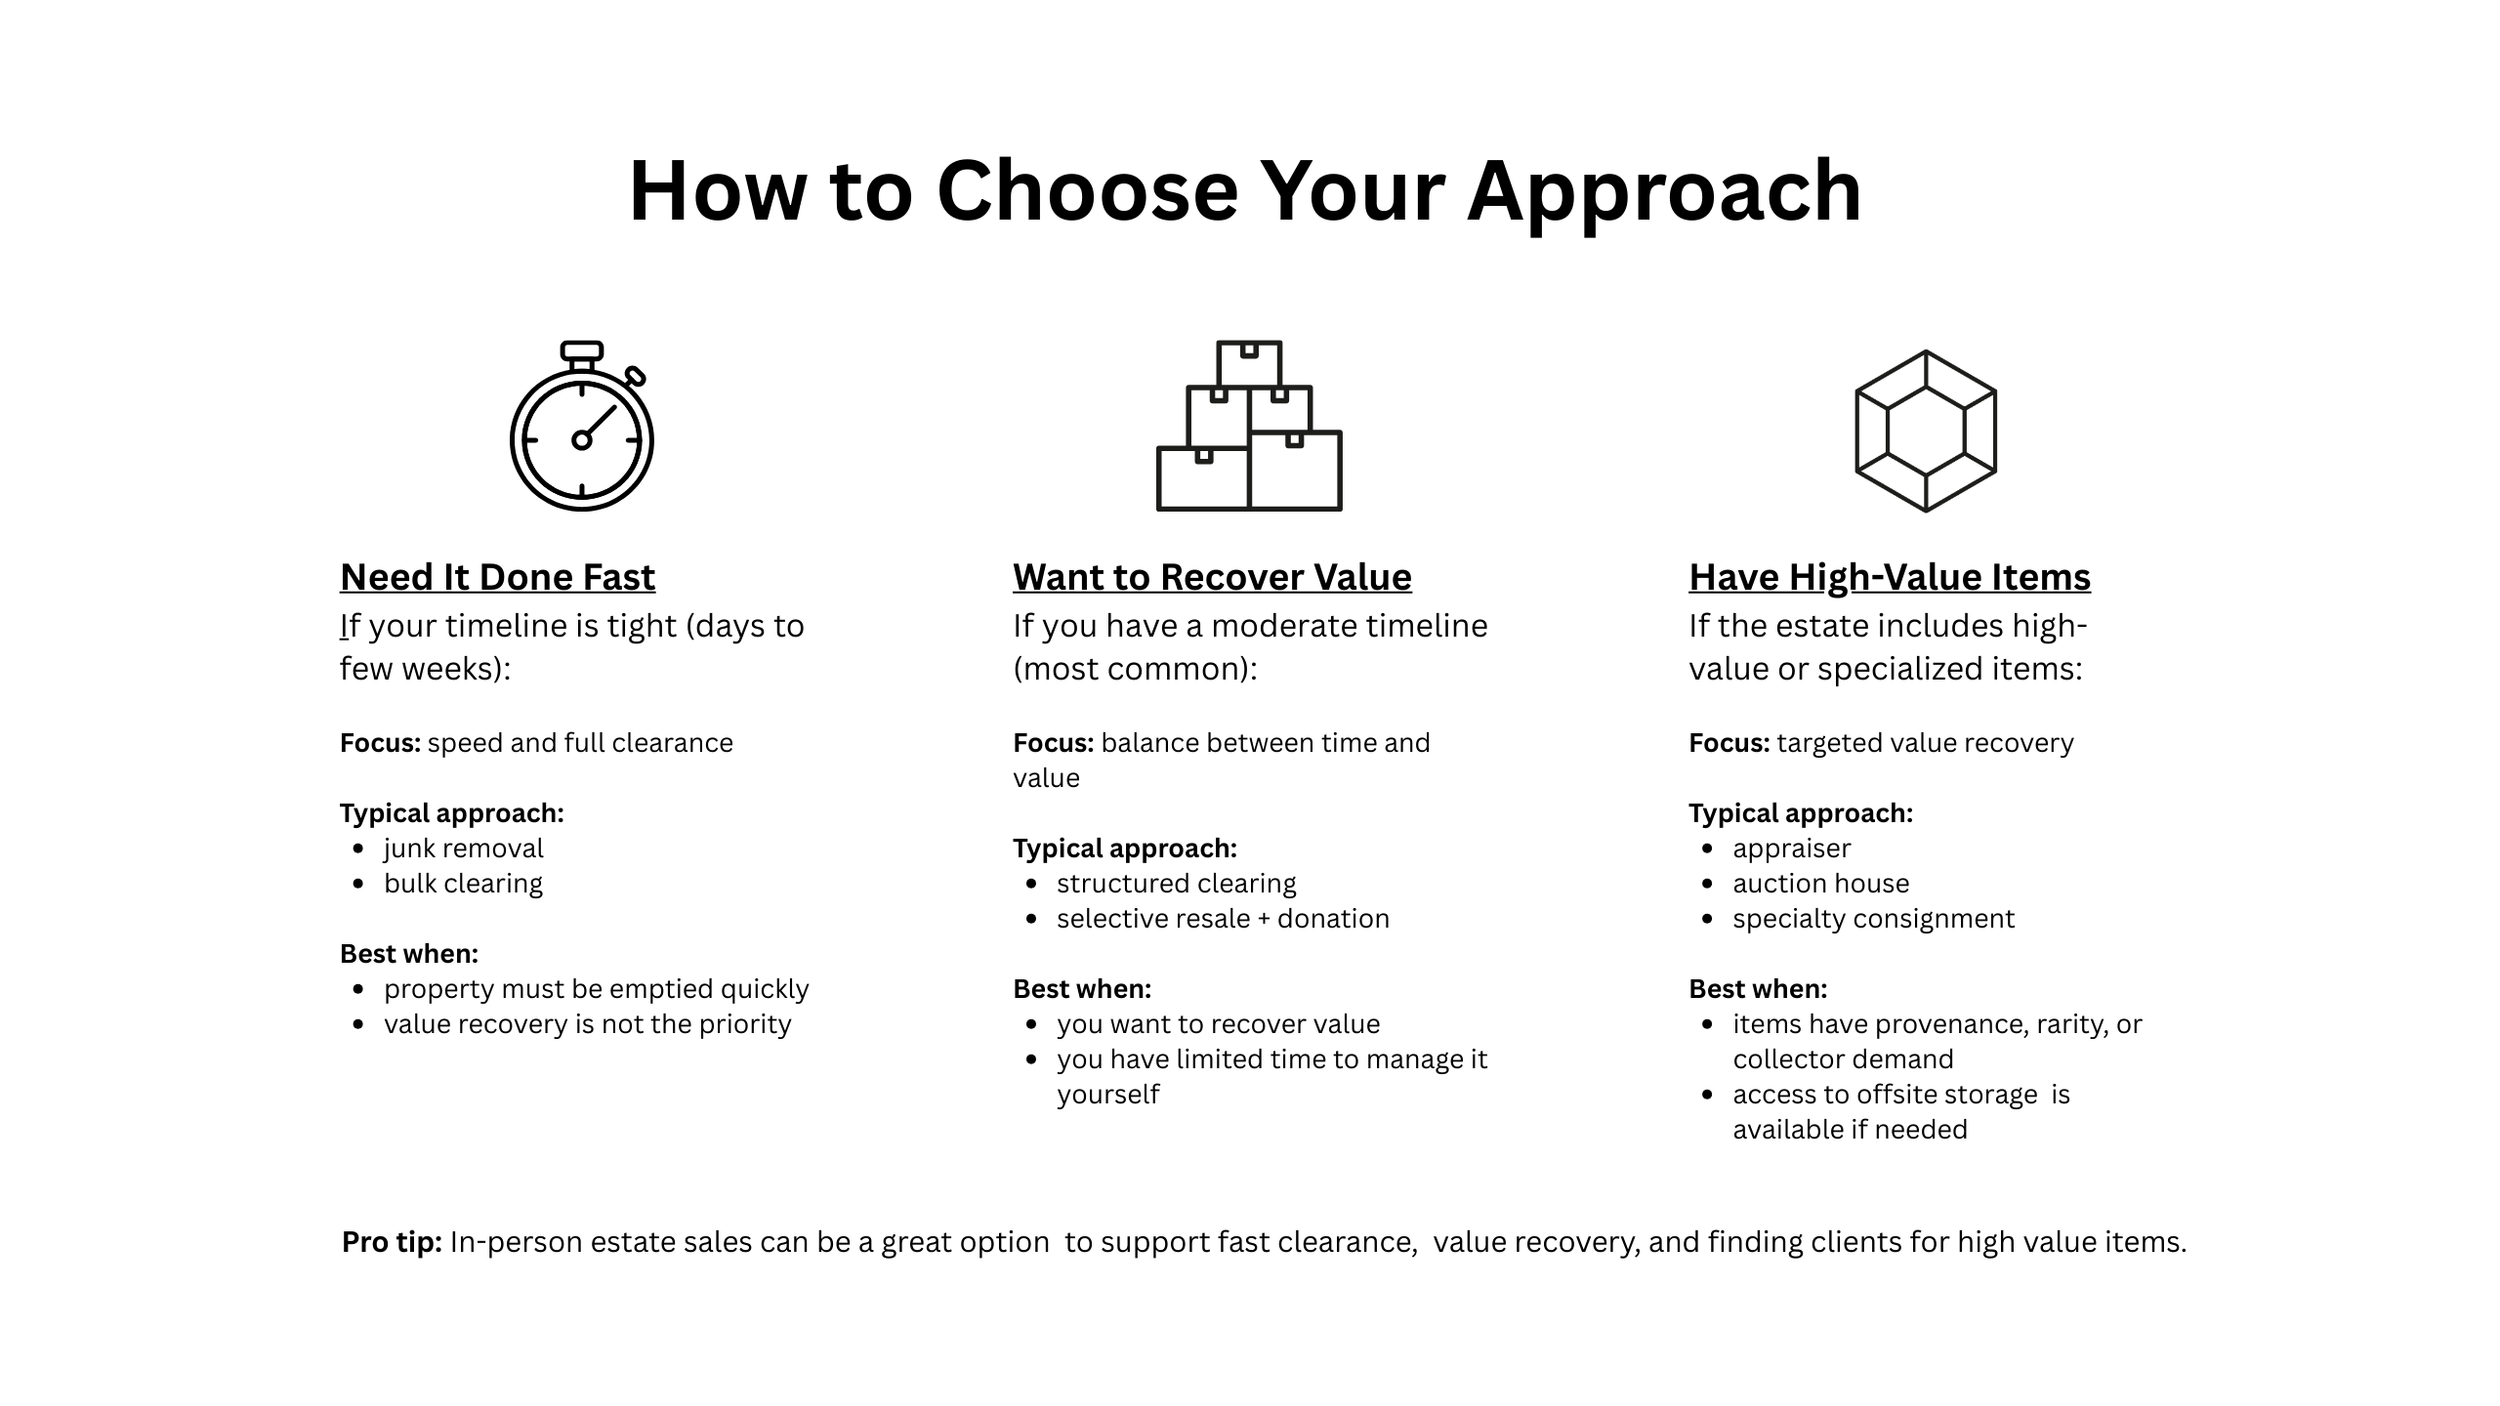
Choose the approach that fits your timeline and goals—whether you need a fast clear-out, want to recover value, or are managing higher-value items.
Now that your timeline and goals are defined, the next step is choosing how the estate will be cleared.

Bring in the right expertise when needed—getting a second set of informed eyes early can prevent costly mistakes and missed value.
Step 4 — Bring in the Right Expertise (If Needed)
What to do:
Identify areas where you are unsure of value
Bring in appropriate expertise based on your situation:
appraiser (for high-value or niche items)
auction or consignment specialist
experienced estate contents support for full-home review
Use outside input before making removal decisions
What NOT to do:
Assume you can accurately assess value on your own
Rely on quick online searches as final answers
Discard or donate items before review
Why this matters:
The wrong decisions at this stage lead to permanent value loss. Once items are gone, they cannot be recovered.
Example:
A family cleared out what they believed were low-value garage items. Later, they learned several pieces had resale demand and collector interest, but the items were already gone.

Set clear boundaries early for family items and keepsakes—decide what stays, what goes, and by when to avoid confusion later.
Step 5 — Set Clear Boundaries for Family Items and Keepsakes
What to do:
Set a defined timeframe for family to select items
Remove sentimental items early in the process
Keep a simple record of what is taken
What NOT to do:
Allow ongoing, unstructured access
Leave decisions open-ended
Mix personal items into the selling process
Why this matters:
Without structure, this step can delay the entire project and create unnecessary conflict.
Example:
Siblings were told to “take what you want.” Months later, disagreements arose over items believed to still be available, slowing progress and creating strain within the family.

Decide how the estate will be cleared—and who is responsible—so the process can move forward without delays or confusion.
Step 6 — Decide How the Estate Will Be Cleared (and Who Is Responsible)
What to do:
Choose how items will leave the home:
selling (estate sale, online marketplace, auction)
donation and disposal
a combination of both
Decide who will handle the work:
you or family
professional support (estate contents manager, sale company, etc.)
Evaluate:
time available
physical effort required
coordination involved
What NOT to do:
Assume you can “figure it out as you go”
Commit to selling everything yourself without understanding the workload
Delay assigning responsibility
Why this matters:
This is where plans either move forward—or stall. Clear decisions around method and responsibility keep the process progressing.
Example:
A family chose to sell everything themselves to maximize return. After several weeks of managing listings, messages, and pickups, progress slowed significantly. They eventually brought in help—but only after losing time and momentum.

Execute the plan—this is where items are sorted, priced, and moved out according to the approach you’ve chosen.
Step 7 — Execute the Plan (Selling and Clearing Phase)
What to do:
Begin removing items from the home based on the decisions made in Step 6
Work through the home in a structured way:
room by room, or
category by category
Maintain consistent progress until the majority is cleared
Execute your chosen approach:
manage listing, pricing, and pickups yourself, or
follow the process set by the professionals you’ve hired
What NOT to do:
Start without a clear plan
Stop and start repeatedly
Let unsold or unprocessed items accumulate
Change direction mid-process
Why this matters:
This is where the plan becomes progress. Consistency—not intensity—is what gets a home cleared.
Example:
A family started strong but lost momentum after the first week. Once they recommitted to a steady, structured approach, the clear-out moved forward and the home was completed.

Complete the clear-out and prepare the home for what’s next—ensuring nothing is left behind and the property is ready for handover, sale, or move-in.
Step 8 — Final Clear-Out and Property Preparation
What to do:
Complete the final removal of all remaining contents
Walk through the entire property one last time
Check cabinets, drawers, storage areas, and overlooked spaces
Confirm the home is fully cleared and ready
Arrange professional cleaning if needed
Prepare the home for its next use (sale, rental, or move-in)
What NOT to do:
Leave final checks incomplete
Assume earlier walkthroughs were sufficient
Skip cleaning before listing or handover
Delay final preparation steps once clearing is done
Why this matters:
This step ensures the property is fully ready for listing, handover, or occupancy—without delays or last-minute work.
Example:
A home was cleared but not professionally cleaned. When it came time to list, additional delays and last-minute coordination were required before it could be shown.